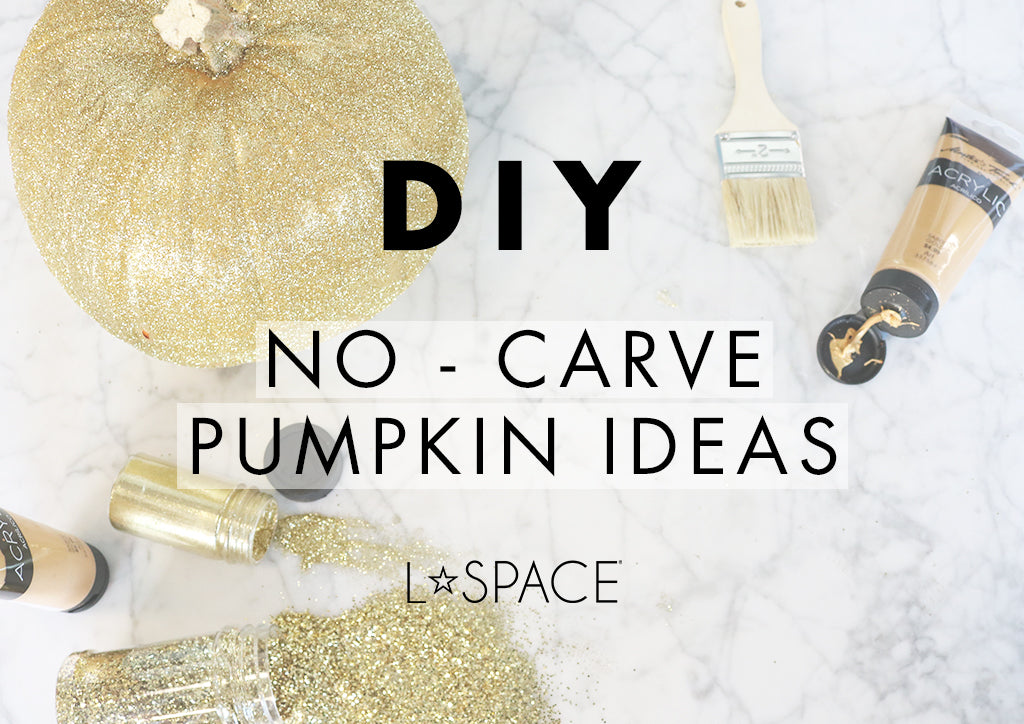
If you ever get to pay a visit to our offices, you'll see that we love to decorate. Like, a LOT. Come October 1st, we've decked out our desks with pumpkins and candy galore, and by November we're ready for a full-blown Winter Wonderland. So naturally, we love a good Pinterest-perfect DIY. Here, we're sharing our favorite (AKA girly and glam) ways to decorate pumpkins for Halloween, with no messy carving required!

You'll need:
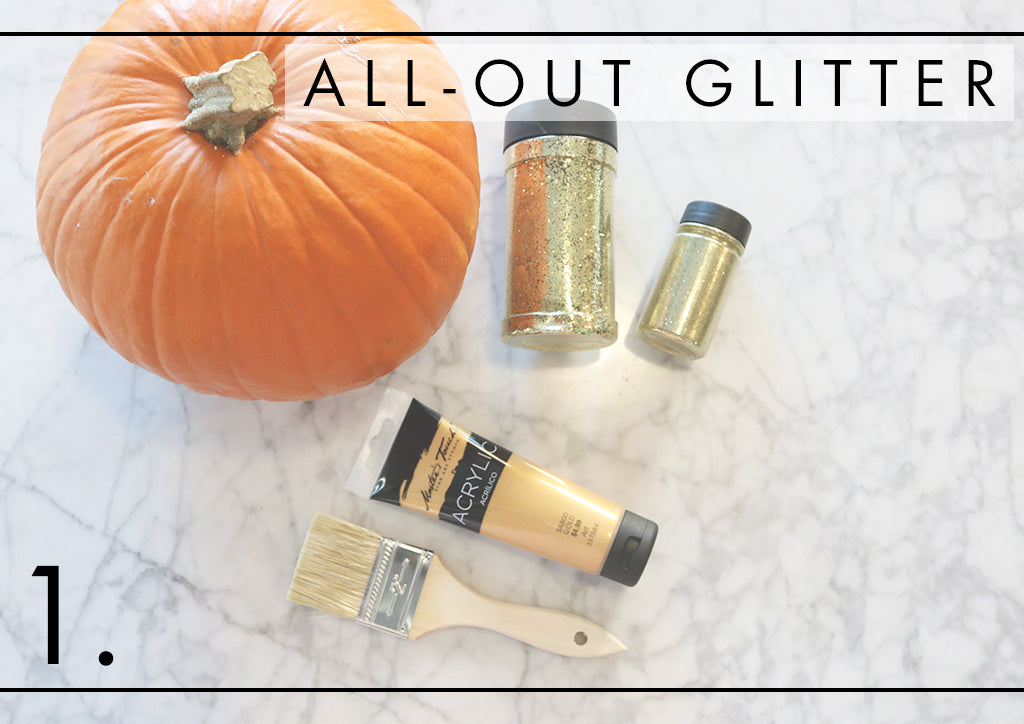
Gold acrylic paint
Paintbrush
Gold glitter

To make:
1. Use paintbrush to cover the entire pumpkin in gold paint
2. While paint is still wet, go to town with the glitter!
This one is simple but sure to be a showstopper on your porch!

You'll need:
White acrylic paint
Letter printout
Scissors
Tape
Pen or pencil
Glue
Paintbrush
Gold glitter

To make:
1. Print out your letter of choice in a large script font
2. Paint the entire pumpkin in your color of choice (we chose white)
3. Once dry, cut out the letter and tape it to your pumpkin. Trace around the edges in pen or pencil. Remove the paper letter and fill in the tracing with glue.
4. While wet, sprinkle gold glitter on top of the glue
5. Do the same with the stem for a fun touch

You'll need:
Gold acrylic paint
Gold glitter
Paintbrush
Your least-favorite bowl (it'll get messy)

To make:
1. Thin out the acrylic paint slightly by mixing it with a little water in a bowl
2. Use your paintbrush to help you pour paint directly into the pumpkin, starting from the top. Let it drip down, adding more paint to your liking.
3. While paint is still wet, sprinkle glitter over pumpkin. We used a lot of glitter at the top and thinned it out toward the bottom for an hombre effect.

We got a little excited to so we made another one using white paint.

That's it! Tag us
@lspaceswim in your pics if you recreate these gorgeous gourds!


